Virtual Farm
Below are the steps to run the latest virtual smart farm docker image.
1.) Download the latest virtual smart farm image by running the command.
docker pull atomiton/virtualsfarm:latest
2.) Start the docker container using command
docker run -d -it -p 8080:8080 atomiton/virtualsfarm:latest java -jar /opt/astack/rel-108/atomiton.tqlengine.jar
3.) On a web browser preferably Google Chrome open the web page using the URL http://localhost:8080/app/index.html#/login. Use the credentials TQLEngine@atomiton.com/tql123
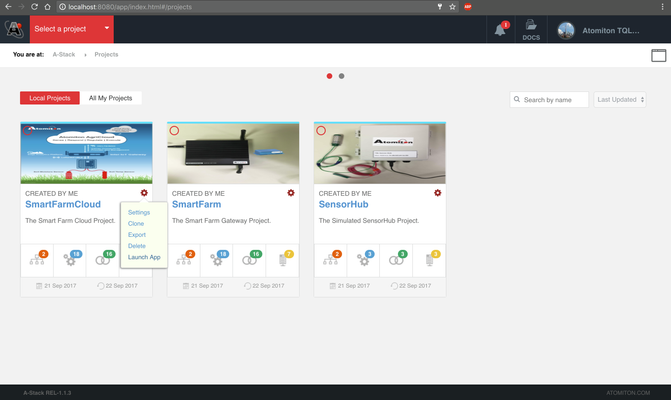
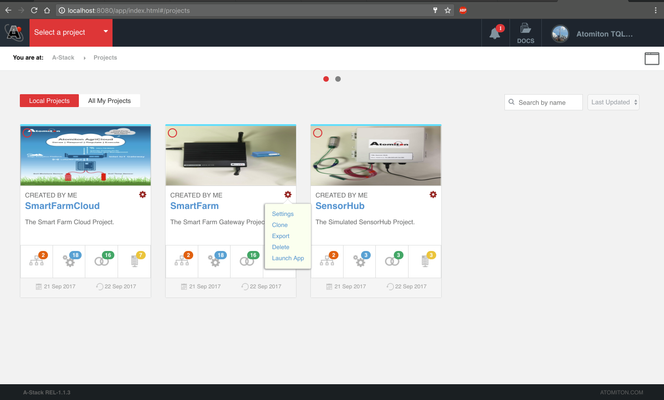
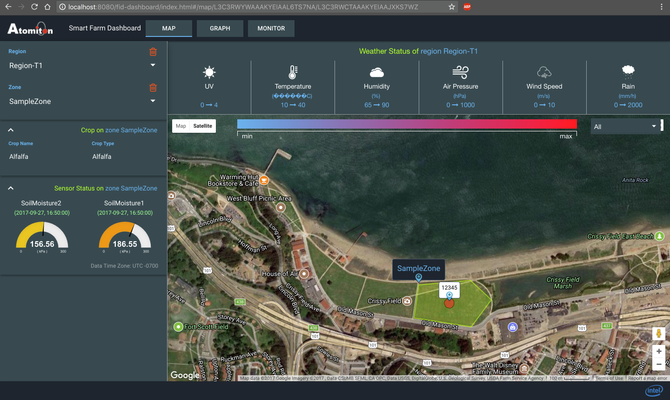
4.) Once logged in open the Dashboard and Gateway UI by clicking on setting icon on the project and clicking on Launch App option as shown in image below.
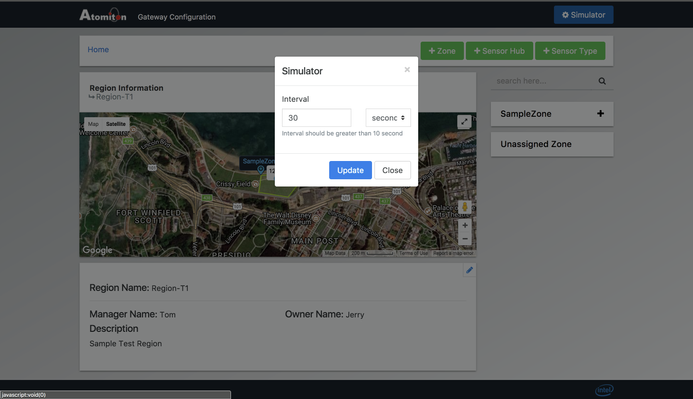
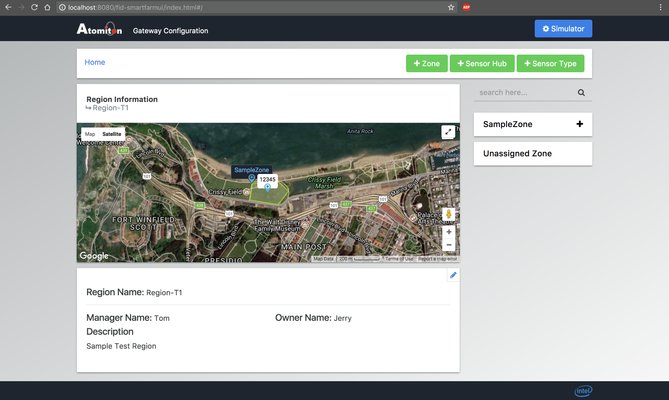
5.) Go to the Gateway UI and click on the Simulator Icon, select some simulation Interval like 30 seconds, and click on Update and then click on close after that.
6.) The simulation should start running and you should see the sensor data on preconfigured sensor hub by clicking on the sensor hub on map.
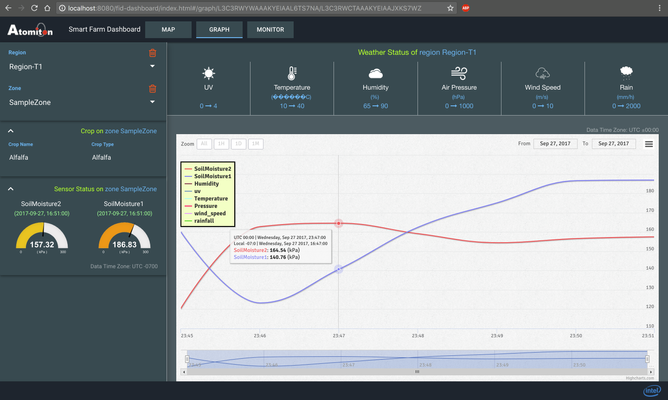
7.) You should also start seeing the calibrated sensor value on Dashboard UI
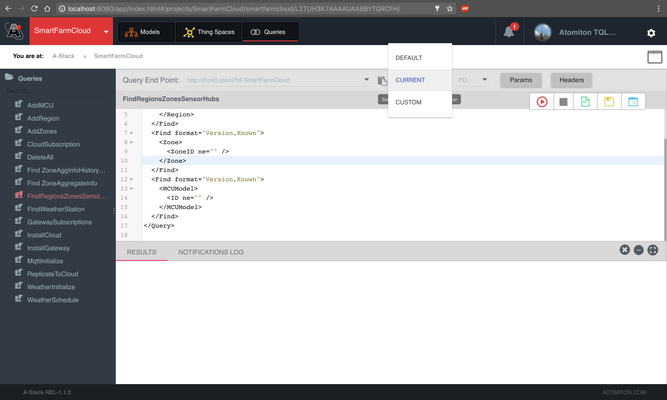
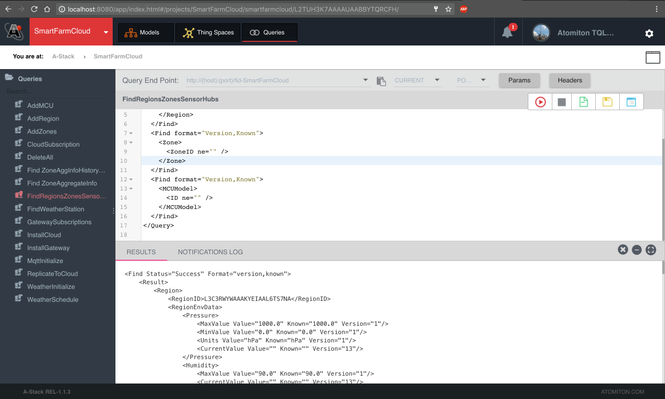
8.) You can also run the queries in queries tab of the project, select the project go to queries tab and select the endpoint as current and then run the queries
the details of various queries and their explanation can be found in the following link.
